
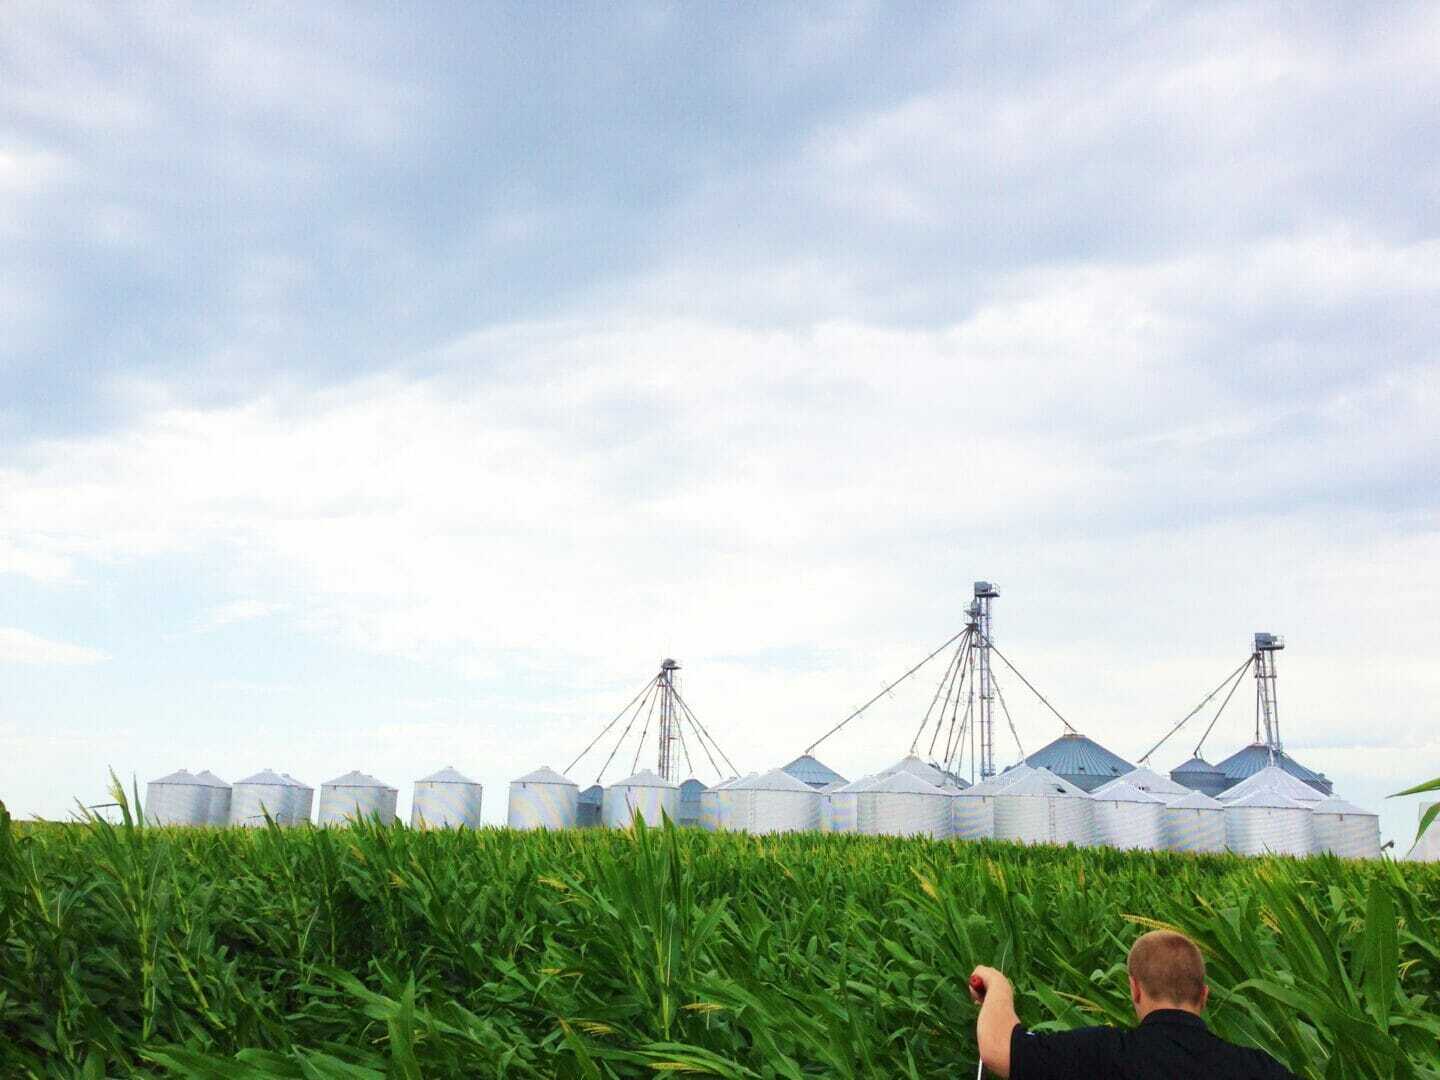
 Instead of viewing seed treatment as an input cost, consider it an investment – an insurance policy if you will. After all, it takes less than a bushel of soybeans to pay for the cost of treatment!
Wet, poorly drained soils favor the development of fungal pathogens that cause seedling diseases, which slow germination and plant growth. Seed treatments protect seedlings until they have a fairly well-established root system.
To help the seeds go through the planter better, Latham Hi‑Tech Seeds adds a proprietary blend of polymer and seed coating. Our customers say they waste less seed and see more even stands, resulting in better yield potential and ultimately an increased return on investment.
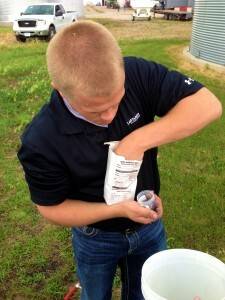
 Latham Hi‑Tech Seeds’ signature SoyShieldTM, a fungicide-only package, and SoyShield PlusTM with fungicide and insecticide, protect seeds from disease and insect damage for up to 30 days. This time frame is longer than many other seed treatments and is typically an adequate window of protection.
SoyShield Plus includes an exclusive fungicide combination that provides excellent protection against seed and soil borne diseases including: Pythium, Phytophthora, Fusarium and Rhizoctonia. In addition, seed treatments can provide health benefits for more rapid and increased germination under certain conditions.
Some seed treatments also help protect against nematodes, which are becoming more prevalent. Many fully-loaded treatments may have innoculants, micronutrients or plant food. Interested in learning more? Talk to your local Latham® representative or leave your comments below. You’re also welcome to call me at 1-877-GO-LATHAM (1-877-465-2842).


 What a soil test is: A soil test is a process of testing soil to see how available nutrients are to a plant. Nutrients are chemically removed from the soil and measured. The information retained from soil tests is then used to determine how much fertilizer needs to be applied to a field and what nutrient deficiencies must be addressed. Soil pH, humic matter and exchangeable acidity are also measured to determine how much, if any, lime needs to be applied.
 How to take a soil sample: Use a soil probe and a spade or a hand trowel to dig a V–shaped hole that is 6 to 8 inches below the soilsurface. Then take a 1-inch slab off of the side of the hole and put it in a clean plastic bucket or bag. Take 15 to 20 surface samples per 40 acres. As you take these samples, put them into the same bucket or bag. When you are finished collecting your samples, mix them all together very well. Then pull one sample from the mixture for the soil testing lab. When collecting samples, it’s very important not to use brass, bronze or galvanized tools because they will contaminate your samples with copper and zinc. Deliver samples to the testing lab within 48 hours of when they are pulled, otherwise bacterial movement will skew the results.
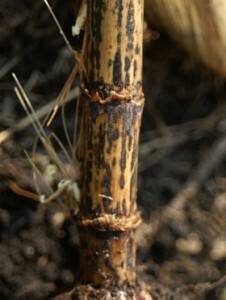

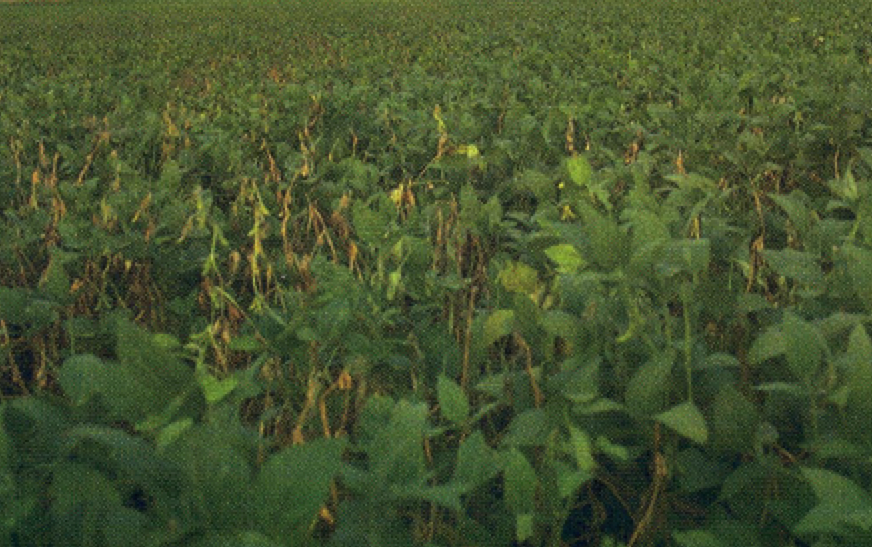 White Mold, or